Rate Limiting Quickstart
Protecting against unintended or resource-intense requests is one of the biggest challenges when building any GraphQL API. With Rate Limiting, Stellate provides you with another tool to make it easier to operate your APIs and ensure they are available and healthy.
To get started with Rate Limiting, you first need to set up a Stellate service.
- Enabling this feature increases latency by approximately 20ms.
- If you use SSR or Static Rendering, make sure to exclude your builds.
- If you use a proxy in front of Stellate, make sure to use the correct IP as well.
Add Rate Limiting to you config
To add a baseline of protection, we will start with the most simple rate limiting mechanism out there: counting the amount of requests. While it’s not a sufficient solution to rate limit GraphQL operations, it’s still a powerful baseline to protect your API from too many requests.
Dry run state
Starting Rate Limiting in dryRun mode is the safest way to go. In dryRun state, no requests are blocked, but it allows you to inspect the traffic and see how your Rate Limiting rules affect your consumers.
Limit
We start by allowing 50 requests in a 60 second window in the example below. This is a sliding average, so only consumers with more than 50 requests in the last 60 seconds are blocked. You can adjust this limit to suit your needs. Or just start with 50. As we’re only using dry run mode, it’s safe to try anything.
If you have a more complex rate limiting setup in mind, please feel free to take a look at the examples we have provided.
import { Config } from 'stellate'

const config: Config = {
  config: {
    rateLimits: [
      {
        name: 'IP limit',
        // Requests will be grouped by ip
        groupBy: 'ip',
        // dry run state will not block any requests, but only show it in the UI
        state: 'dryRun',
        // Limit consumers that do more than 50 requests in the last 60 seconds
        limit: {
          type: 'RequestCount',
          window: '1m',
          budget: 50,
        },
      },
    ],
  },
}
export default config
With the configuration above, we only allow 5 requests per minute per unique IP. This is just a way for us to be able to trigger As you probably don’t yet know the actual usage of your service yet, we recommend starting with the rule in dry run. That will later show you how often you would have blocked certain API consumer and allows you to therefore get confidence in having set the right limit.
Making changes to your service config
This step will always be the same and repeated throughout this course. You have two methods to push changes to your service config:
- Either via the “Config” page of your service.

- Or through using the CLI by using
stellate push
Send some example requests
After saving the config you can open the the Playground - either via the success notification after save, or from the top right “Play” icon in the navigation - and send some example requests.
If you have an application that uses the service you can of course also use this to generate some traffic.
Inspecting the traffic
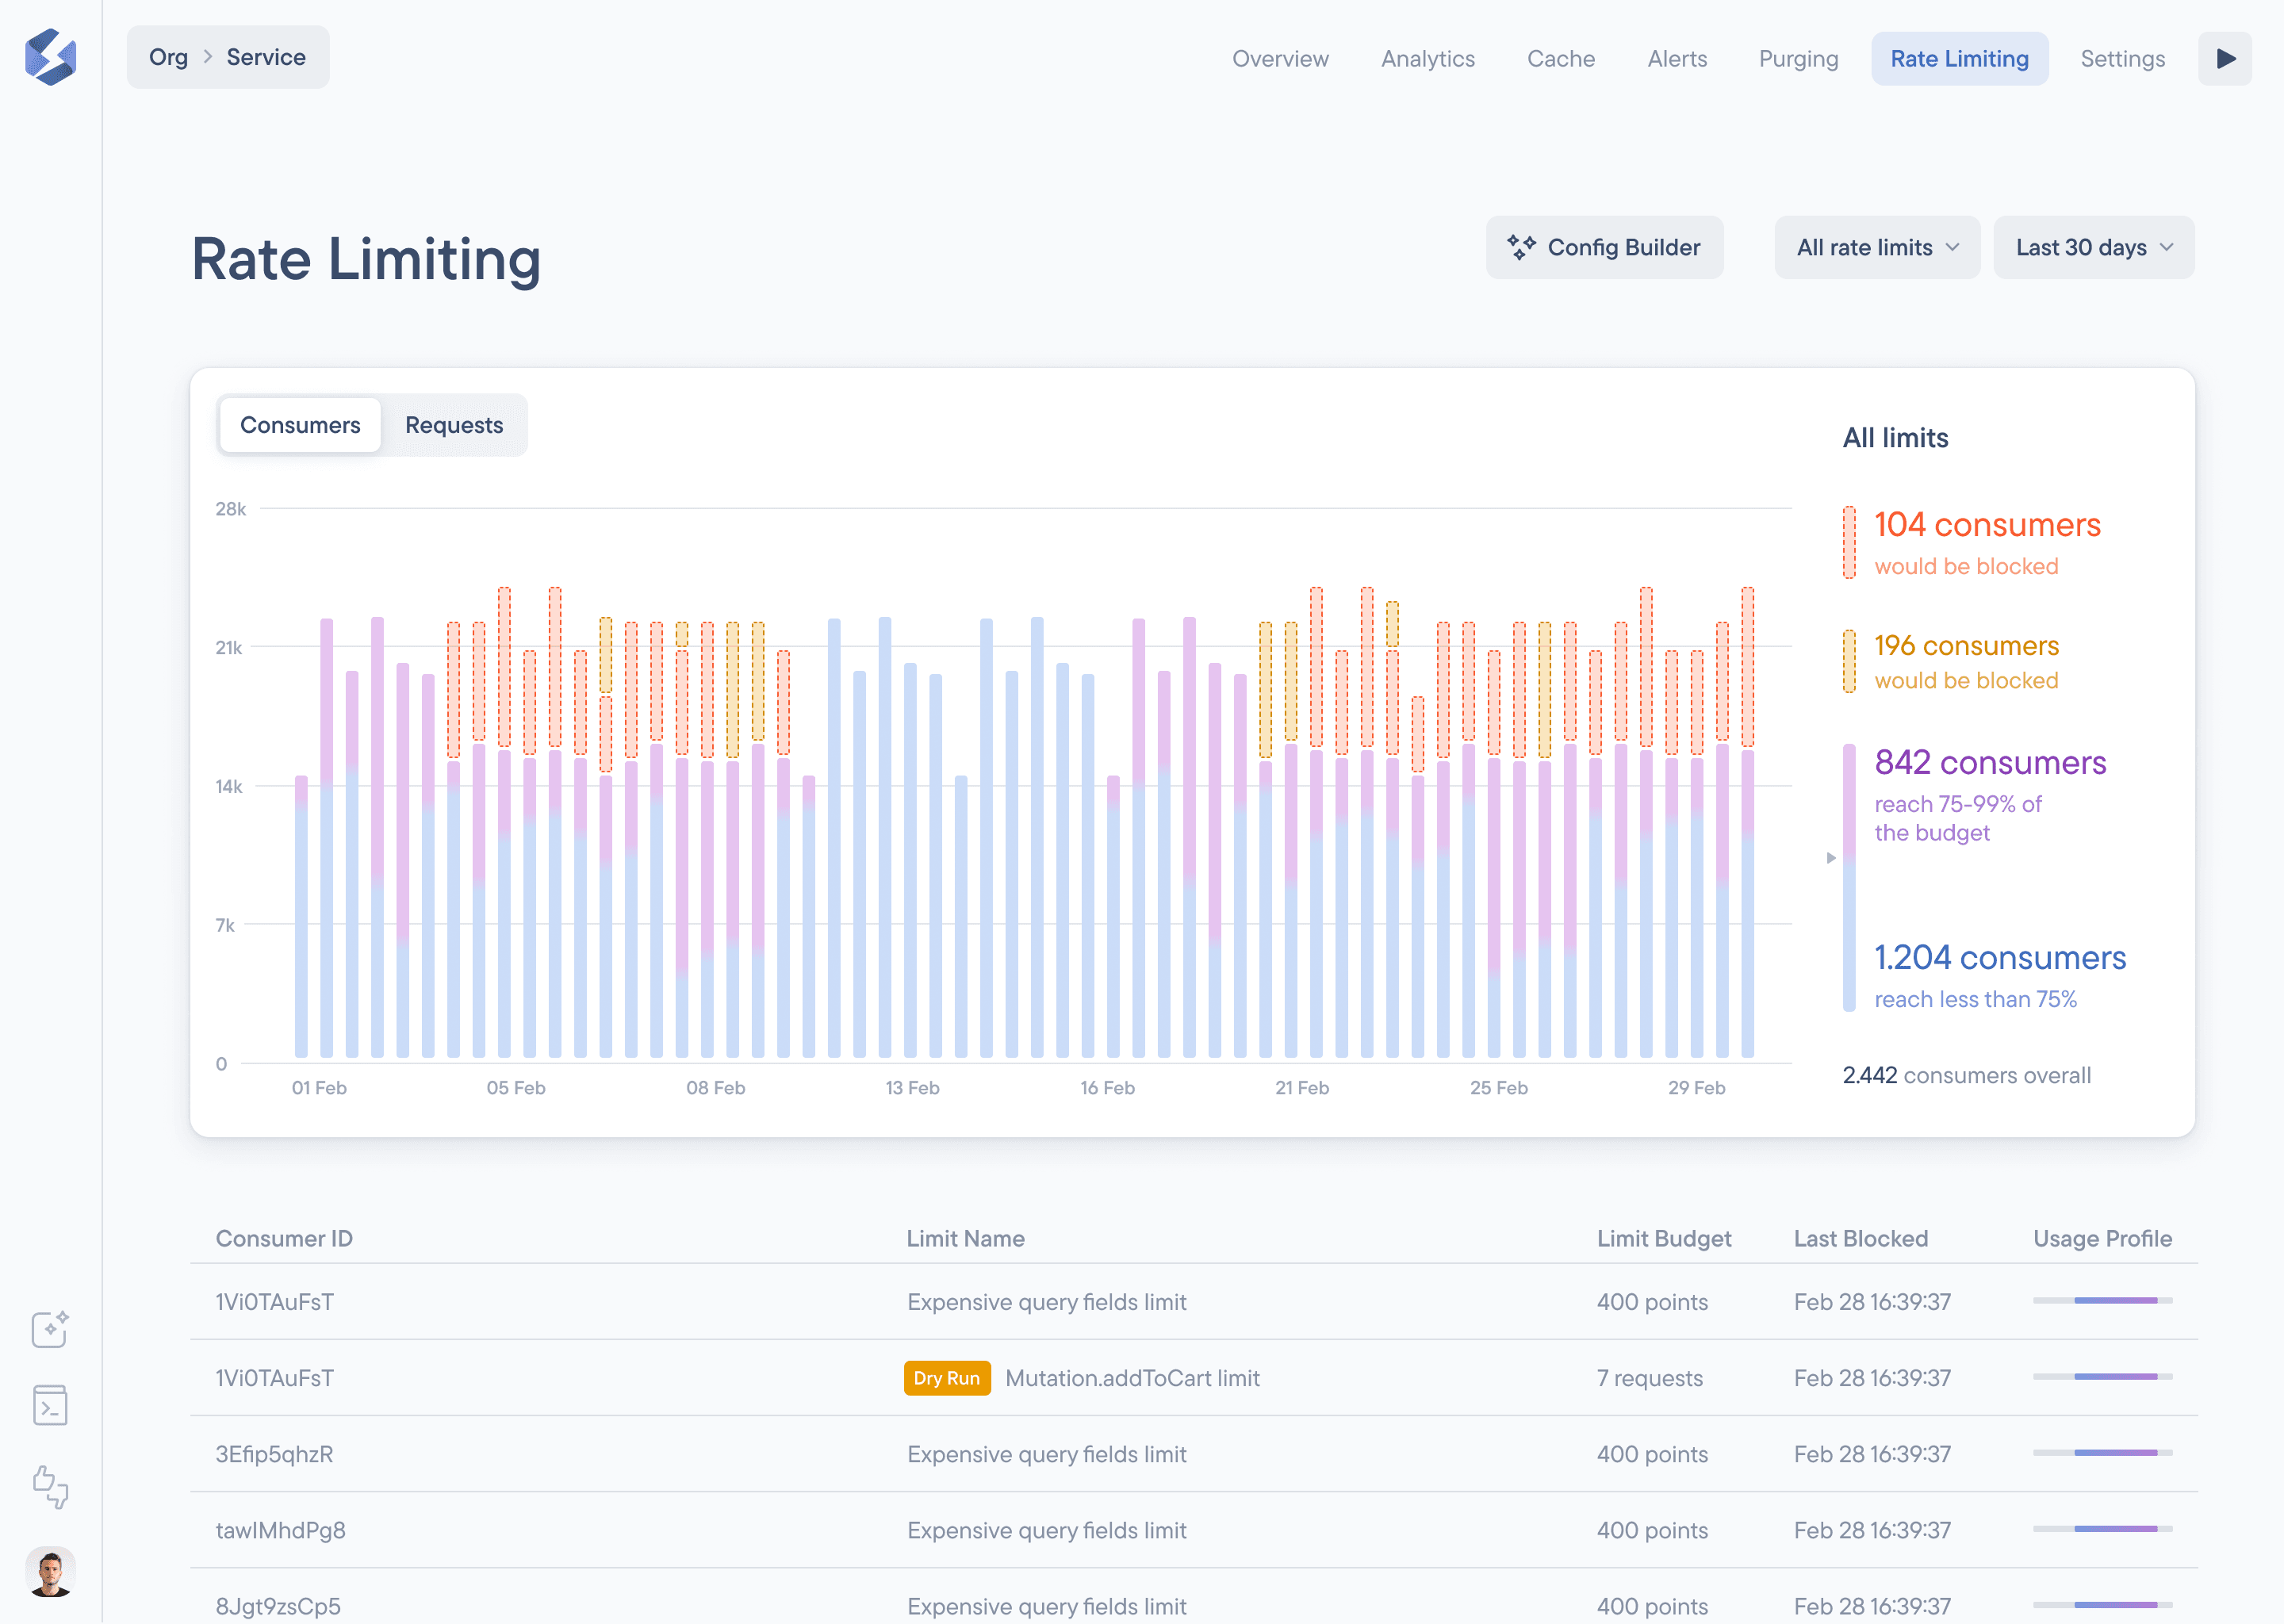
Once you pushed the new config, you can have a look in your service dashboard under “Rate Limiting” to check out the live data coming in on how your rate limiting rule performs. This will be the place you’ll have a look at more in the future for any rule you create to make sure the rule is working as intended.

Enable your rate limiting rule
Once you are confident your rate limit rules are applied correctly, it’s time to enable rate limiting! It’s a good practise to observe the traffic for about 1h-24h depending on how safe you want to go.
import { Config } from 'stellate'

const config: Config = {
  config: {
    rateLimits: [
      {
        name: 'IP limit',
        // group by ip
        groupBy: 'ip',
        state: 'enabled',
        // Allow 5 requests per minute
        limit: {
          type: 'RequestCount',
          window: '1m',
          budget: 50,
        },
      },
    ],
  },
}
export default config
There’s more
If you followed along the previous steps, you will now have a baseline of protection for your GraphQL API. However, there’s more. First, we got the Rate Limiting API Reference. If you want to learn more about how to use it, take a look at some of the examples we provide.
We curated a list of real-world examples for you that show-case the power of Stellate’s Rate Limiting. You can check them out here: